 Jean Price - Plot 4
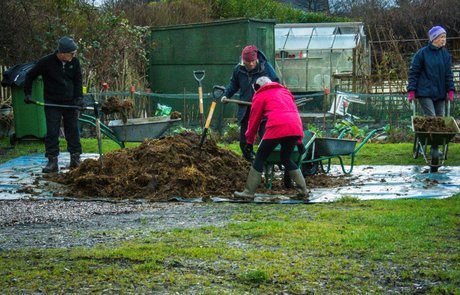
Well, it’s getting to the end of January and it is very cold with frosty mornings and hard soil. So, its a good time to be thinking about the condition that our soil is in. The secret of a successful harvest is getting the soil in the best condition you can. One of the best ways of conditioning the soil is introducing organic matter in the form of animal manure, which adds nitrogen, garden compost, which adds slow release nutrients and leaf mould which improves drainage. I know a lot of you have thought about improving your soil already because of the working parties that we have organized this month to help shovel the deliveries of manure that we have had (with more to come). Organic matter will never fail to improve the structure of the soil and help with water drainage. We have a good supply of leaf mould which is free for our society members and I know that many of you compost waste products too. A sprinkling of chicken pellets help to give a big boost to the soil microbes. It smells a bit rich but it’s worth it. It’s easy to enrich your soil; just pile the organic matter on the soil and then fork it in at a depth of about 6 – 12 inches. If you already have plants such as rhubarb or fruit trees etc., just fork the matter around the plants. No need to dig it in. One of the first things you will notice is that your worm population increases. Worms are wonderful things for growers because they naturally aerate the soil. You should see a marked improvement in your harvest. So as soon as the ground thaws and you feel like a dig, make sure you dig in some goodness too!
0 Comments
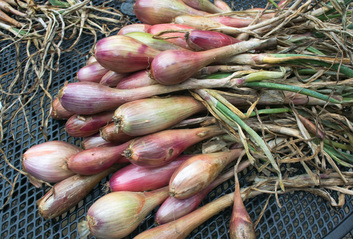
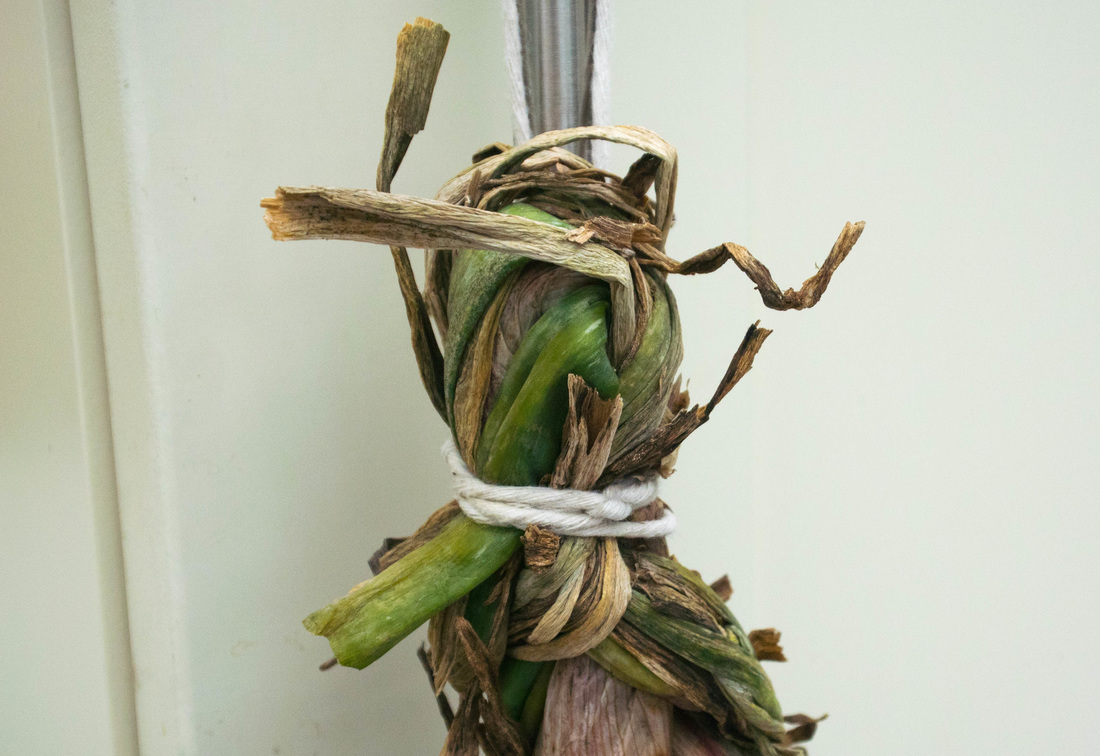
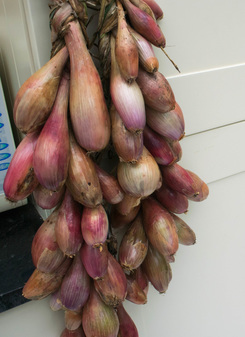
Jean - Plot 4 Well, I said I would give you an update to my shallot blog from April when my shallot plants looked like weedy spring onions. I planted them in bunches of 5 or 6, but I think next year I will limit the bunches to 4 as a few of them were crowded out. I am pretty pleased with the harvest though and they should last me right through the winter. A couple of weeks ago we harvested them and left them on the plot on an incline to let the juices flow out so that they would dry ready for storage. Today I brought them home for preparation. First I trimmed the roots and brushed away any dry skin from the bulbs. Then I plaited them ready for hanging. I plait them as you would hair, introducing a new shallot with each crossover. I also do this with my onions. The only thing to do then is to tie them firmly at the top with string ready to hang. I hang one bunch in the kitchen ready to use and the rest in a cool dry place. These will last right into next Spring.
Some people ask why I grow "banana" shallots as opposed to the little round ones. The answer is simple; I am a lazy cook who hates spending hours pealing the fiddly round ones. With the banana varieties pealing is easy. Just take off the top and bottom, make an incision right the way down the length of the shallot and peal back the skin. Shallots pealed in seconds. Happy days!! 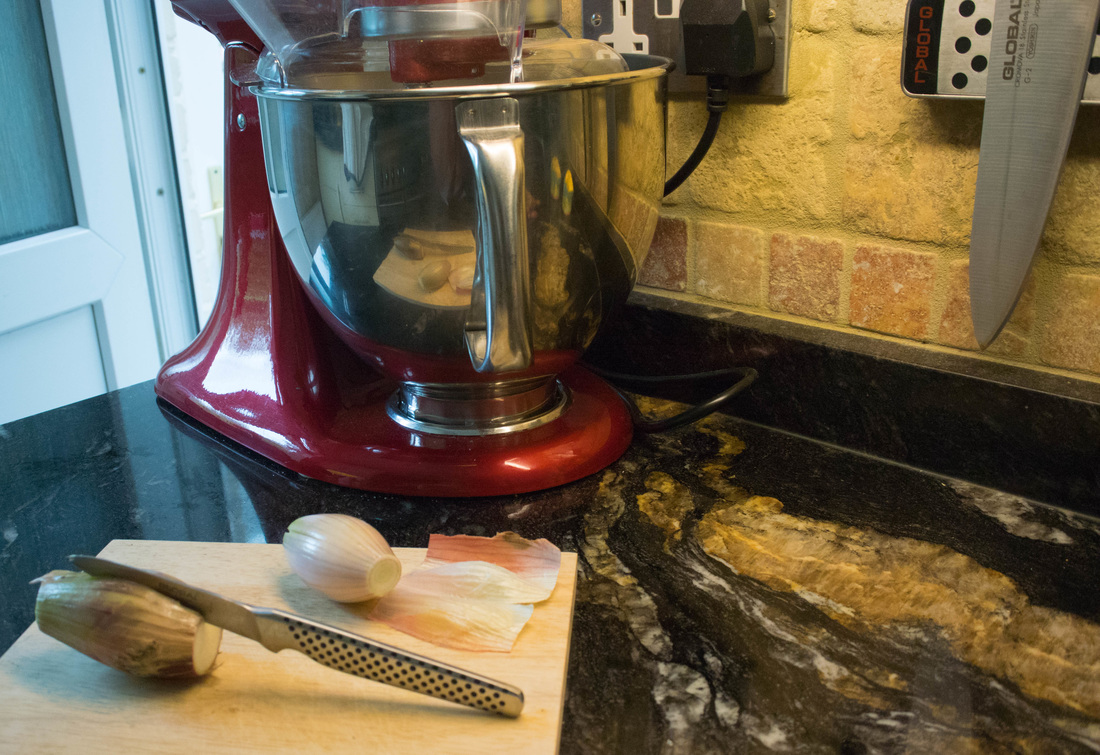
Jean - Plot 4:
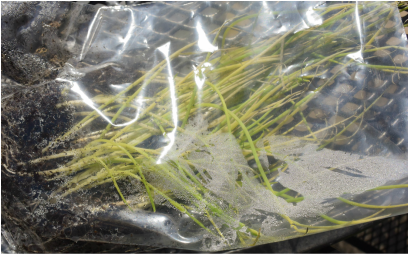
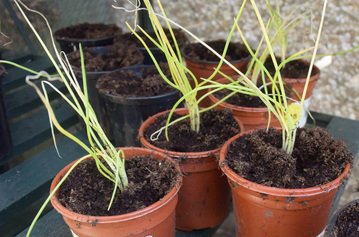
Our shallots were fabulous last year and it all happened by accident. We put our order in with Marshall's for a couple of packs of Roderique Shallots, thinking that they were shallot sets, but in fact they were shallot plants. We were pretty surprised when they arrived to see that they looked more like lots of spring onions rather than shallot sets but we decided to give them a go. We are so pleased that we did as they turned out to be the best shallots we have ever grown. They are banana shallots, so called because they are long rather than round. I prefer these as they are very easy to peel, unlike their round cousins. Unlike their cousins, you don't plant them singly and then harvest a bunch; you plant them as a bunch and harvest that bunch. Anyhow, we were so please with the results that we decided to grow them again and I thought I would share their progress with you. We got the delivery a couple of days ago and the photo on the left shows how they look when they arrive. The first thing is to separate them up into clumps of 4 - 6, which isn't difficult as they are more or less delivered like that. I try to get clumps of 5 as I think that it is a good number to grow. The next step is to pot the bunches up into 3 - 4" pots as you can see in the right hand picture. I did that today and I will let them settle in the greenhouse for a week before hardening them off and planting them on the allotment. I really hope that we get the same result as last year as they were fabulous. I plaited them up and they lasted right through the winter. I will let you know how we go on with them in a later blog. Wish me luck:-) 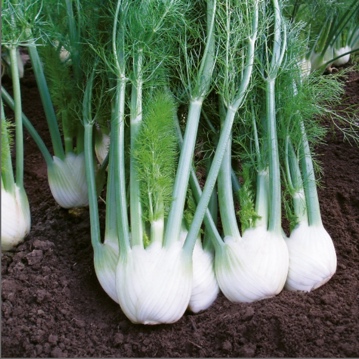 Gary - Plot 16b:
Someone commented about how fabulous my fennel looked last year so I thought I would share what I did. I think I was just lucky as I didn't do anything special but here goes: The seeds I used were Kings Fennel Rondo F1 which can be sown directly into the ground or in modules. Kings say that fennel doesn't like root disturbance but starting them off in modules worked fine for me. You can plant anytime from April to May. I have some growing on the windowsill in the conservatory as we speak. Last year I potted them up into larger pots before I hardened them off outside. I then just planted them on the allotment, 25 - 30cm apart and let them grow, keeping the weeds at bay and keeping them well watered until the plants were established. As the swollen stems start to develop, it's a good idea to gradually build earth up around them to preserve the whiteness and flavour. I harvested the leaves from July and bulbs from September and October. I may have left some to get a bit too large, but live and learn. The only other bit of info is that I planted them where I had grown onions the year before, but I am not sure if that is relevant. Unlike the fennel in the herb section which is grown specifically for its leaves, this fennel is grown for the bulbous plant base which can be used chopped raw in salads, braised as a vegetable or added to casseroles. It has a mild aniseed flavour with a texture much like celery. I love it grilled on the BBQ and you can find my recipe (with a little help from Jamie Oliver) on the "Vegetables and Sides" page of the Recipe section of this website. Happy growing! 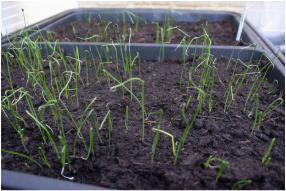 Paul - Plot 4:
Don't you just love leeks? We do. I sowed mine on the 11th February in a propagator and they are already about 3 or 4 inches tall. If you haven't got yours started yet, now is a good time to do so. This year I have sown a tray of Musselburgh and a tray of show leeks, Snowdon. Musselburgh are a reliable leek of a medium size but our favourite is Snowdon, which grow to about 4 cm in diameter. You can buy them online from Kings or Plants of Distinction. Anyway, in about a week's time they will be ready for transplanting. I usually transplant them into 9" diameter, deep pots and put about 15 leeks in each pot. You can then leave them until the end of May when they should be about the width of a pencil. It will then be time to plant them so watch this space for some good tips on how to do that. What a funny week for weather! It went from spring sunshine to winter snow and back again in three days. Check out the gallery for some pictures which have been taken on the allotment over the last couple of days. 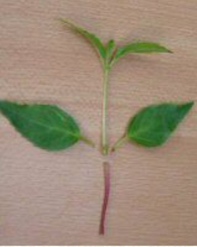 Stan - Plot 33:
On Wednesday I received my new variable electric propagator. I set it up in my greenhouse at home & filled the trays with the appropriate compost. One day later, with the compost warmed through, I started to take Fuchsia cuttings of various varieties. The trick is to find yourself a nice plant from which to take your cuttings. I made sure there was no signs of disease then I found a stems with a couple of pairs of leaves and I cut the stems so that they were about 2” long. I then removed the surplus leaves which exposed a leaf node, and cut the stem up to where the leaf node was. That’s it, ready for planting into prepared pots. You can dip the end of the stem in hormone rooting powder or not. Sometimes I do, but the powder doesn’t seem to make much difference if the cuttings are healthy. I hope some of these plants will be available for Jeff to sell with his other plants with the money going to his charity. I also set the Dahlia tubers on my other propagator in the hope of having cutting available for the middle of March and then growing on ready to plant out in early June. Now is a good time to sow broad beans if you haven’t done already. I have sown Bunyards Exhibition in the cold part of my greenhouse. This variety has not let me down in the past. In the next few weeks there will be many seeds that can be sown. Like me, keep checking your seed packets for the appropriate dates. 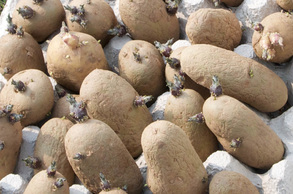 Paul:
This is my first attempt at a blog. I'm not sure how to structure it but hopefully it will get better as I carry on. My wife Jean and I work our plot together (plot 4). Its February and at this time of year there isn't a great deal to do on the plot other than digging over the ground, clearing weeds and generally getting the site prepared for the coming season. Today was all about potatoes. Last week I prepared my seed potatoes by standing them in egg boxes in the hope that they will "chit" or sprout, ready for planting. The secret is to keep them quite cool. At the moment they are in our spare bedroom with the heating off but I am not sure that Jean is too impressed by that so I may move them into the greenhouse and protect them from frost with a bit of fleece. I am digging trenches at the moment ready for the potatoes. We are having three rows this year, early and late crops. This year we are trying Arran Pilot and Cara. We haven't grown them before so watch this space. Today I finished the third trench and put in some leaf mould from our leaf bay together with some rather smelly chicken manure pellets and Blood Fish & Bone food for good measure. Normally I would put in cow manure but this year I thought I would try something different. The weather was cold today but it didn't stop us from doing some work. Jean was road testing her new oscillating hoe and was very impressed with it. It gets deeper than a standard hoe, and because it has blades front and back, you can use it with a forward and backward action. The cold weather is always a good excuse to get the kettle on and so we stopped for a cuppa and a chat with the plot holders who were around. The talk soon came around to Man U's abysmal performance last night in the European League in Denmark. The least said about that, the better. I finished with a quick trip to the tip with a few buckets of debris and the plot is now looking pretty clear. All in all, we put in 2 hours work (including the tea) so it was a fairly useful morning. |

|
Walton Wanderings Blogspot |

Copyright - Walton Road Allotment Society © 2023